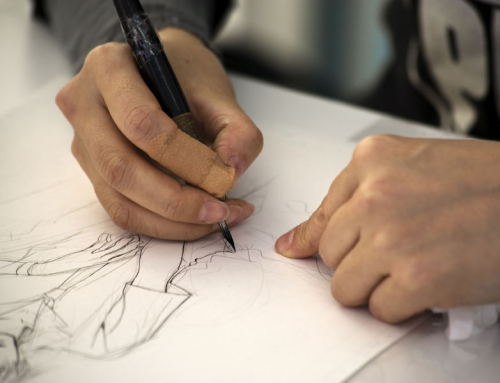
Drawing is not a separate activity from drawing, but rather, the skills one acquires in learning how to draw are foundational to painting.
This is true not only from the perspective of learning how to accurately depict forms and making things look the way you want them to, but also in terms of making an underpainting to paint on on top of.
An underpainting is a roadmap for your oil painting. Using your choice of many different mediums, you can have the freedom to play on the blank canvas before you begin, treating the support like a big piece of paper.
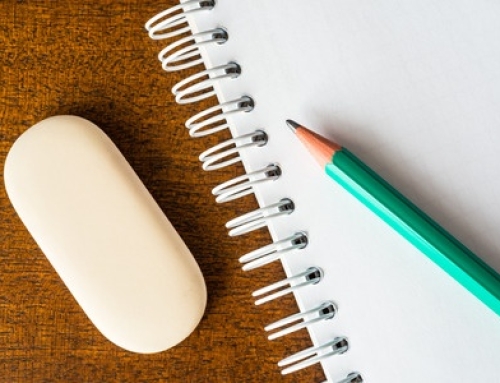
You can make corrections by rubbing out lines with an eraser or a cloth or stiff bristle brush dipped in turpentine until you’re satisfied, then spray the surface with a light coat of retouch varnish or fixative to keep lines from smudging and mixing into the colors of your painting as you move to the painting stage.
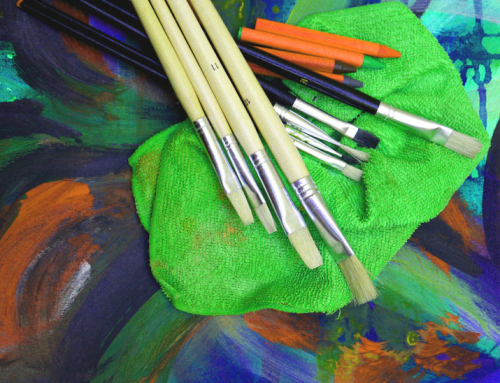
The only mediums that don’t work well for underpaintings are graphite pencils and felt tip markers, as both of these have a tendency to rise up through the paint and be visible on the surface over time. Instead, use charcoal pencil, pastel or conte crayons, water-soluable colored pencils, pen and ink, or even a simple, monochromatic oil painting thinned with turpentine or mineral spirits.
How finished to make the underpainting is entirely up to you, the artist. Sometimes you may choose to work loose, and may only need the largest shapes of the composition in place before you begin.
Other times, you may be working on a highly detailed, realistic painting and need every curve and line drawn before even thinking of adding paint. Let the amount of detail needed help you decide what medium to develop your underpainting in.
If it would be helpful to have some of the colors worked out in the underdrawing stage, you would be ahead to work in pastels, colored pencils, or conte crayon.
You can even blend the colors on the canvas or support, just as if you were working on paper.
If you don’t need to see the color in the preliminary stages but do need clear, precise lines, you may be ahead to do your base drawing in pen and ink.
Remember, you can even make washes of shades of gray by dipping a brush in water and blending over lines or by painting with a watered-down ink.
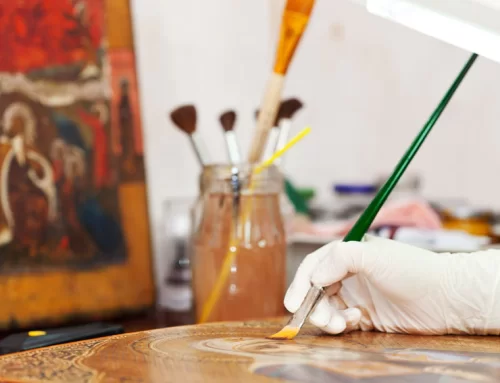
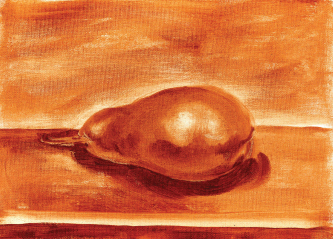
Finally, you can even use the “wipeout” method of oil painting to serve as an underpainting. This method is best for quickly establishing large shapes and getting the vague elements of your composition in place.
Simply paint the rough composition with a single color (or a limited palette) in oil paint, then use rags or brushes dipped in turpentine to wipe out the lighter areas of the forms. This method is fast and fun, and can make for an effective finished painting in its own right.
Want To Learn More …
 Learn to paint beautiful, expressive oil paintings.
We have created Oil Painting Mastery so that with this simple step by step oil painting lessons you’ll be able to create masterpieces in record time – and this goes regardless of your previous experience.
With clear (and fun) instructions on how to draw … you’ll learn at your own pace in the comfort of your home.