
 Login
LoginDrawing Cats
Course Overview and Basics
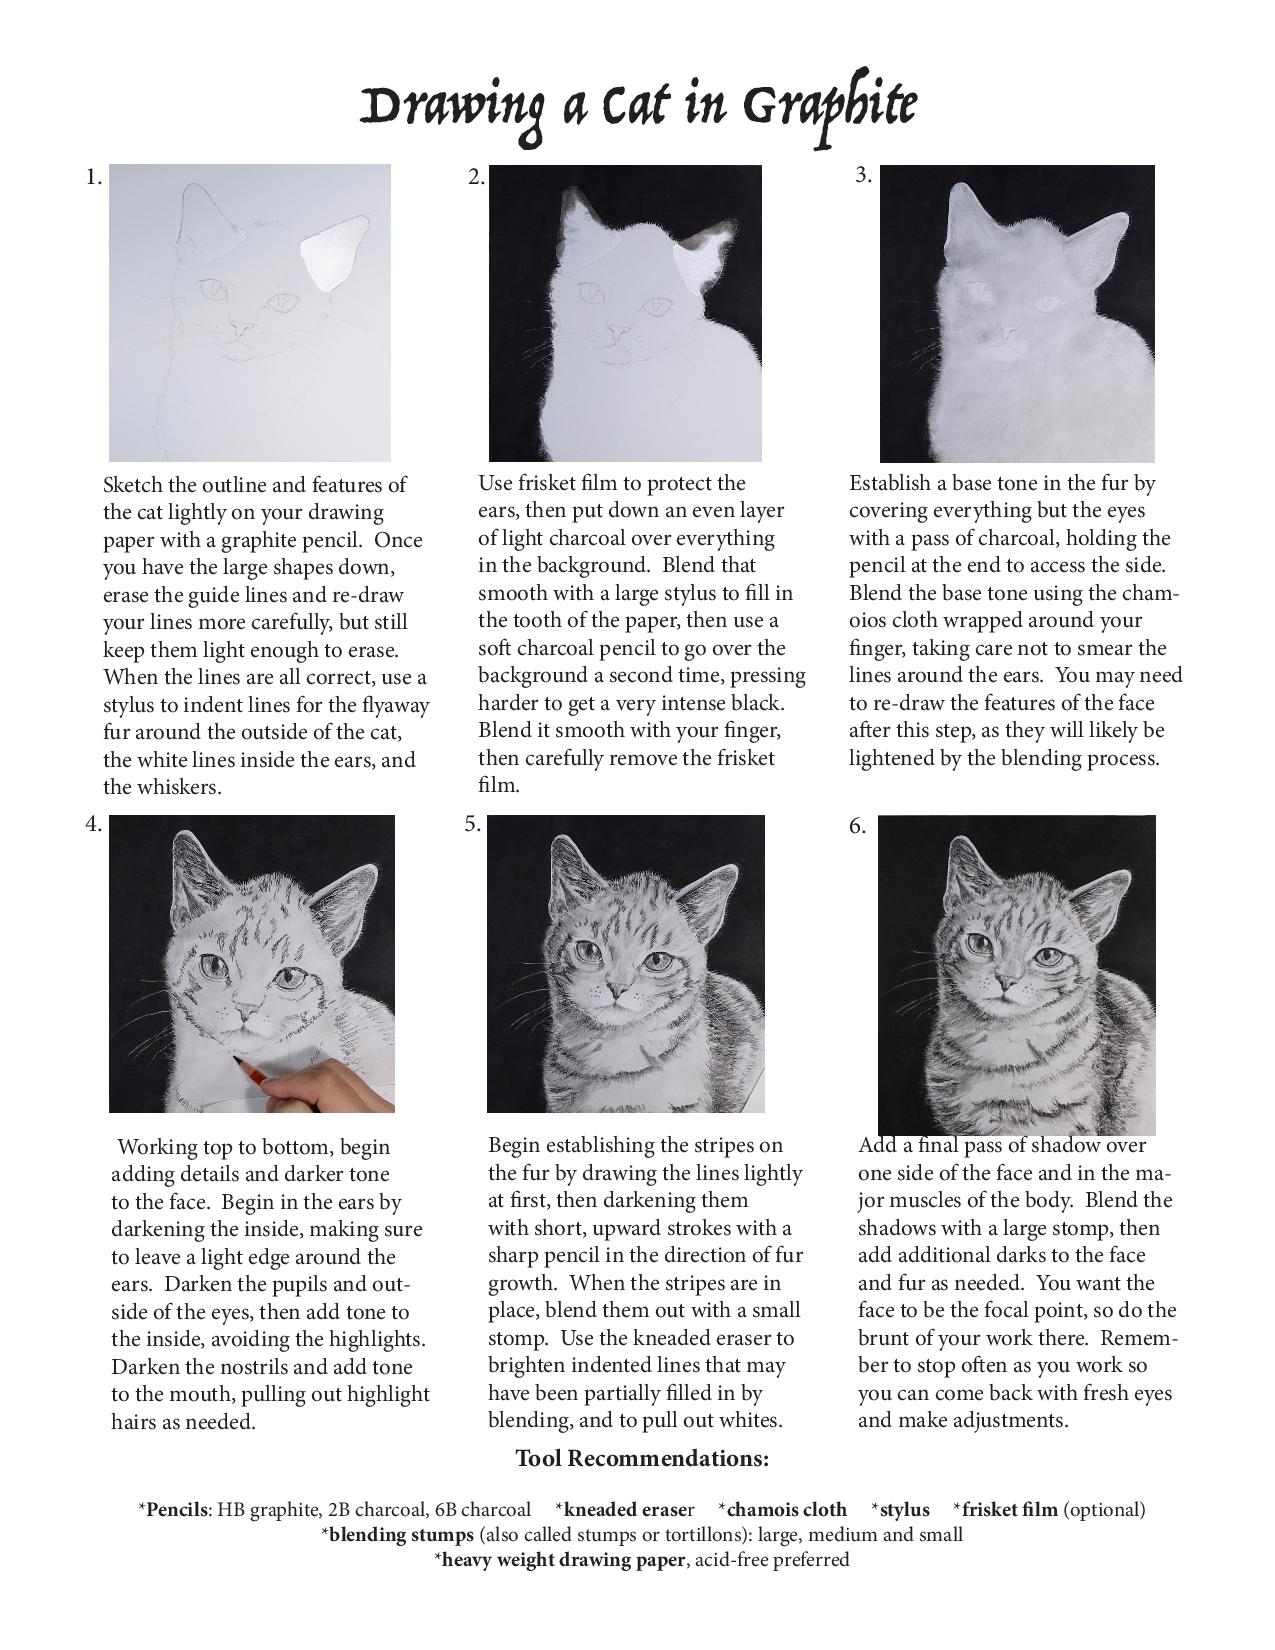
This is a beginners guide to drawing cats in graphite pencil.
Start by choosing a heavy drawing paper that will hold up to repeated erasing, indenting, blending, and building up very dark tone.
If the paper is too smooth, your tones will smear rather than blend and keep clean line quality, and if the texture is too pronounced, you won’t be able to blend your layers smoothly.
A medium toothed, 110 lb. paper is a good choice.
Class 1
Sketch the cat lightly to begin, using a drawing pencil of medium hardness.
A 2B school pencil is just fine. As you draw, look for the large shapes of the cat first.
In this tutorial, we are concentrating on the face and only part of the body to keep it simple, but even in those few elements you have the large shape of the head and neck, with smaller shapes on top of those such as the ears, eyes, nose, and mouth.
No matter what you’re drawing, you always want to get the large shapes correct first, and then add the smaller shapes when the large ones are in place.
Work on your outline until you’re completely satisfied that the cat looks correct.
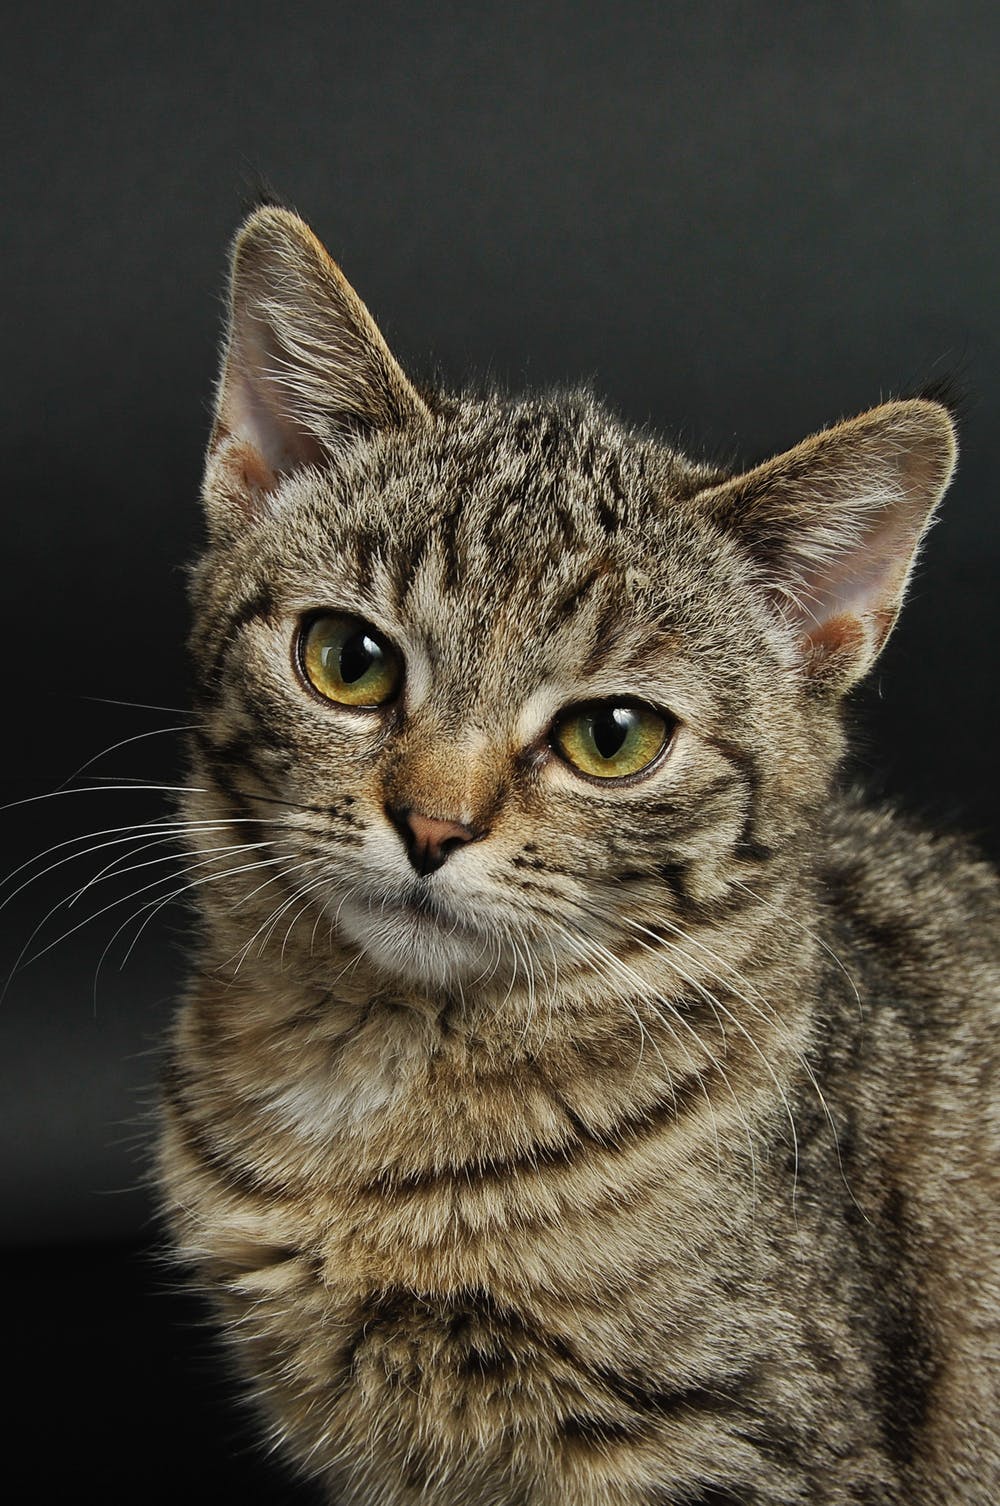
Reference Image
Class 2
Next, use a fine-point stylus that will indent the paper without tearing it.
To add realism in drawings, you can indent the paper with fine white lines that will stay sharp and clean even after adding tone over the top.
This method is much easier and more effective than trying to work around the whites or erase them out later.
Add indented lines in the hairs in the ears, the flyaway hairs around the outside of the fur, and most importantly, the whiskers.
If you’re worried about how the indented hairs will look, you can always place a piece of tracing paper over the top of the cat outline, draw the hairs that you plan to indent on the tracing paper, and then indent by pressing over the top of the tracing paper.
Reference Image
Class 3
When the white hairs have been preserved this way, use frisket film to protect the ears.
Frisket film is a see-through sticker that won’t tear your paper when you remove it.
Tamp it down firmly, then start adding the background.
An extremely black background will really make your cat pop, so to get it, use a soft charcoal pencil (4B to 8B) and fill in the whole background.
You need to use some care around the body, but get as close to the fur as you can.
Blend the first pass of charcoal with a stomp to fill in the tooth of the paper, then add a second pass, pressing more firmly with the charcoal.
The second pass can be blended with your finger or a stomp; the stomp will pick up some charcoal and so will never keep the tone as black as your finger will.
Reference Image
Class 4
Remove the frisket film from the ears, then add a base tone of gray to the cat itself, working around the lighter patches in the mouth and chest.
Do this by holding a soft graphite or charcoal pencil (4B works well) at the back, to access the full side of the tip.
Cover all of the fur with smooth, back and forth strokes.
Keep your touch light so the tone will be easy to blend, and avoid getting tone on the eyes.
Reference Image
Class 5
Blend the base tone with a chamois cloth wrapped around your index finger.
Use small, controlled circle strokes to blend all of the base tone together, avoiding the eyes and white patches on the nose and chest.
After the blending process, the features of the face may need to be re-drawn the bring out the lines a bit more, but don’t go too dark.
Reference Image
Class 6
With the base tone in place, you can begin to add details to the fur and face.
Work from top to bottom and always keep your hand resting on a clean piece of scrap paper to avoid smearing your drawing.
Add details in the fur with a sharp, soft pencil.
You should add tone to the inside of both ears, the back of the fur, and the side of the neck and face to indicate depth and three-dimensionality, and blend the shadows with a large stomp before adding stripes over the top.
Reference Image
Class 7
On the fur itself, make stripe patterns according to what you see on the reference material.
Each stripe should be made up many short, dark hairs , not long continuous lines.
Make sure to draw each hair of the stripe in the direction of hair growth to keep it as realistic as possible, and keep your pencil tip very sharp as you work so the lines are consistently thin from hair to hair.
Reference Image
Class 8
Use a small stomp or tortillon to blend the stripes if needed.
To add details in the eyes and nose, use a sharp, soft charcoal or graphite pencil to outline the upper and lower lids of the eyes and add a pupil.
Blend the lines with a small tortillon, then use the dirty blender to add light tone to the rest of the eye and the nose.
Pay close attention to the reference as you add tone to the face to keep it consistent with the real cat.
You can use a kneaded eraser to pull out highlights in the eyes and lighten the indented lines to finish the cat.
Reference Image
Reference Material …
Click here to download reference image
Click here to download step by step instruction handout
To save these to your computer simply right click on the link above and choose
the option to “Save As”. Save the file to your desktop for easy access.
 If you wish to download the files to your desktop, simply right click the link below and select ‘save as’
Then select the location you wish to save the files to (either your DESKTOP or MY DOCUMENTS e.t.c.)
Once finished, simply unzip the files (PC use winzip, MAC use stuffit) and your files will be there.
All written material can be opened as a PDF.
All videos files can be opened with VLC Media Player.
Select your download option below …