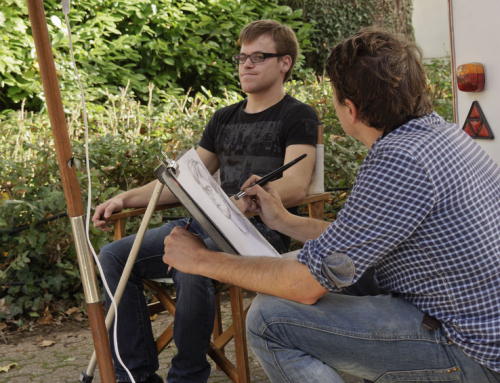
The most effective way to build up contrast in portraits is to gradually darken the tone in shadow areas by …
- layering pencil strokes
- blending to smooth
- repeating until the darks are sufficiently dark.
The problem is that every time you blend, you lift up tone and lighten the appearance, which means that the process can feel like taking two steps forward and one step back.
To alleviate this frustration, the portrait artist must learn different ways of darkening tone which hide pencil strokes and lessen the need to blend.
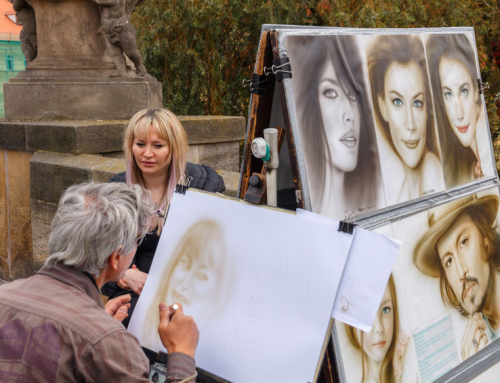
There are different methods to use depending on the texture you want to achieve.
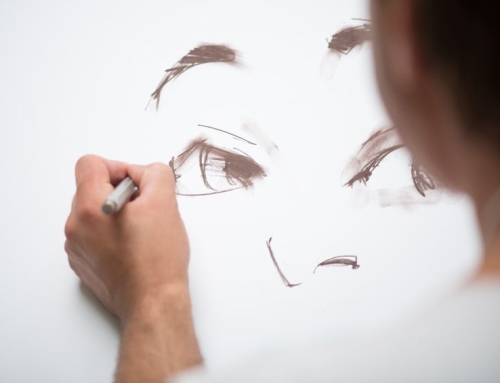
If you are darkening areas of non-smooth skin such as the lips, skip the pencil over the surface in broken lines that follow the shape’s contour.
Don’t “color” the skin as though you were filling in a coloring book. Not only will you waste time by covering all of your previous work, you’ll also produce a flat and artificial final product.

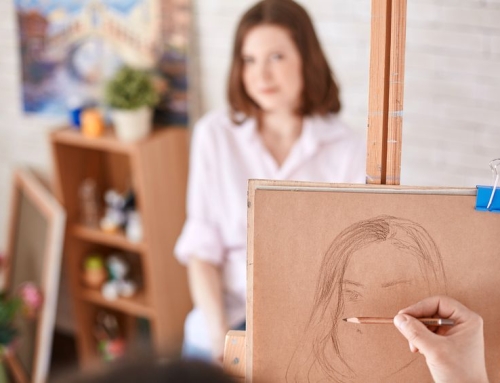
If you need to darken the smooth skin of the face, use small circles that disguise the pencil strokes. Circling is especially effective in small areas, such as the eyes or nose.
Cover the area to be darkened in a clockwise circle, spiraling out from the center. This allows you to cover your strokes twice, once in the initial circling and a second time as you overlap each pass.

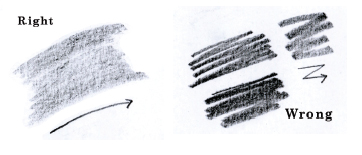
If you’re working up a large area, lay down even strokes with the side of the pencil.
Work in one direction (left to right, pick up pencil, left to right again), not back and forth.
Every stop and change in direction tends to darken the tone, which will result in a final product that is stripy instead of even.
When you have covered the area with an even pass, tip the paper on the side and go over the strokes in the same way, but from a different angle.
Repeat from a third or fourth angle if needed. If you’re careful and take your time, you should be able to develop a smooth, gradual shift in tone without blending.
It is also helpful when you’re covering a large area to use something larger than a pencil.
Experiment with willow charcoal, charcoal sticks, and graphite sticks on a spare piece of your drawing paper using the same methods described above and see what results you can attain.
 Want To Learn More…
Learn how to draw portraits like a master with our latest portrait mastery drawing course.
It’s just like having your own drawing teacher guide you step-by-step along the way without the expensive price tag.
No more smudgy mess with black and white that looks like a first grader whipped up in art class.
“Portrait Mastery” is generously illustrated showing you step-by-step just how to create a real life portrait.