Sand is fun and, typically, easy to paint.
Remember, the farther away from the viewer it’s supposed to be, the fewer details it will have.
So in the background, it’s just a swipe of plain color without speckles or texture visible.
Concentrate your details in the foreground, and you’ll be well on your way to making realistic sand.
Sometimes sand has particles of reflective rock, like quartz crystals or silica in it, and those will sparkle in the light. So start your painting by dipping a toothbrush in a bit of masking fluid and running your thumb across it.
You should get a fine spattering of small, even droplets. Put in as many as you want and let that dry. If some of your sparkles got out of control, rub them off the page before you start painting.
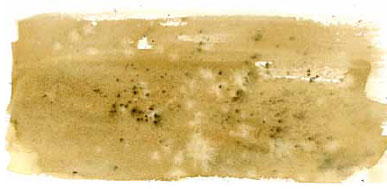
Lay in a base color first. This doesn’t have to be just one color; while the first tone is still wet, go ahead and drop in a few different shades and some variations and let them mix on the paper. In the foreground sand, you may want to spritz a bit of water over the damp paint, or drop in some salt.
Salt will create a star-like pattern, and water, depending on how dry the paper is when you hit it, will make blooms in the paint. The wetter the paper, the larger those blooms will be.
Let the base color and initial textures dry completely, then rub away your masking fluid if you used any (you might only rub most of it away and save a few for the very last step to keep those very bright).
Proctect the background, then fling in a few dots of dark paint using either a brush or toothbrush.
Experiment on a piece of scratch paper to see the differences in the techniques before using them in your painting. Vary those dots by blottting some of them and softening the edges of others.
When everything is dry, add final details with a small brush. You might want to lighten a few dots around the dark spots to make it look more like three-dimensional rocks or twigs in the sand.
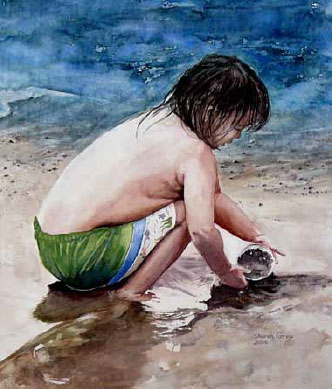
For wet sand, most of the detail is obscured by highlights or dark shadows on the water. The color is a lot smoother, because that water coats it like plastic and covers all those little grains of sand.
So all you should really see is a pattern of smooth-edged lights and darks. If there are speckles at all, they’re going to be fairly large pebbles, and you should see a little pattern of light around each one to show how the water is moving.
There’s no trick, except to work from a good reference and take your time on those finicky details.
 Want To Learn More…
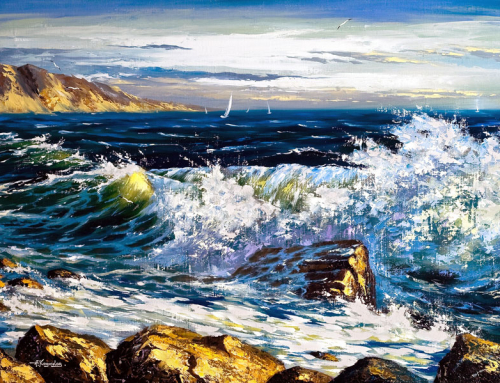
A seascape is a landscape drawing that features the ocean and elements along the shore of the ocean.
Seascapes have been the subject of drawings and paintings for generations but recently it seems to be a hidden gem that is forgotten by budding artists.
Drawing seascapes offer challenges and artistic possibilities that make them ideal subjects for artists of all levels.
Artists who do attempt this form of drawing usually get caught up on focusing on the wrong elements which makes it hard to get a life like portrait.
Once you know the elements that will make or break your seascape you will never look back and will have more confidence in your ability.