The first step to learning how to draw is preparing a place to draw and getting your supplies together.
At the most basic level, this simply means finding pencil, paper, an eraser, and a flat surface to draw against.
But a quick discussion of the basic implements to use may help to get you started.
What Sort Of Paper Do I Use?
You can draw on nearly anything, but if you’re beginning, stock up on inexpensive white drawing paper that you can sketch on.
Computer paper is a good choice. Whatever you choose, it should be paper that holds a pencil line without smudging too easily, allows for at least some heavy erasing, and can be thrown away without feeling that you’ve wasted money.
When you’re ready to create finished, high-quality work that you’re going to invest time in and will want to keep, upgrade to an acid free heavyweight drawing paper, 75# or more.
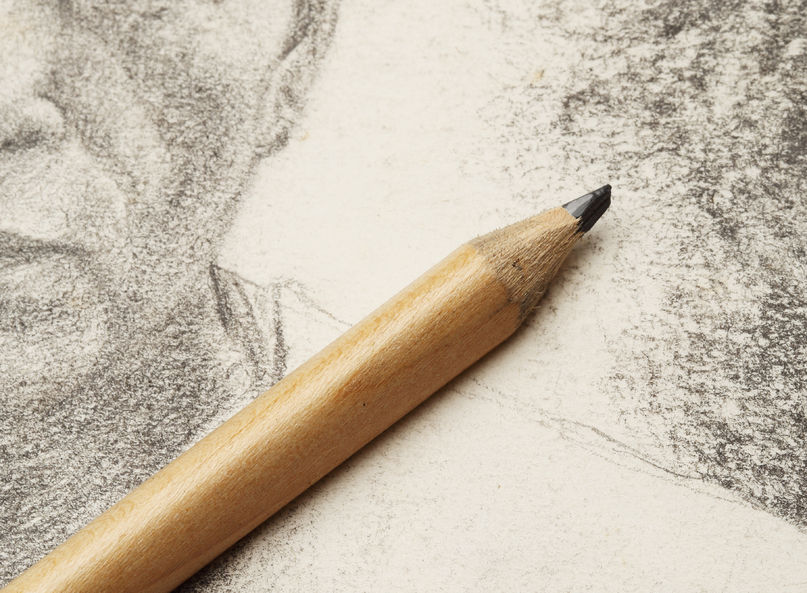
What Kind Of Pencil Do I Use?
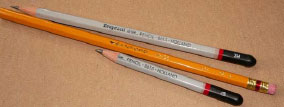 Drawing pencils range in hardness from very hard to very soft.
Harder graphite makes lighter lines, and will have a number followed by the letter h, the larger the number the harder the graphite.
Soft graphite makes darker lines and is labeled with a number and the letter b, the larger the number the softer the graphite.
You don’t need an entire range to create professional drawings. Choose an HB for sketching (your yellow school pencils are HB), a 3B or 4B for mid darks, a 3H or 5H for lights, and a 7B or so for intense blacks.
If you prefer to work with carbon pencils or charcoal, those are also fine, but they lay down a much darker line and smear more easily. Graphite is the most user-friendly drawing medium.
What Sort Of Eraser and Blender Do I Use?
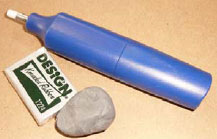 You’ll need something to erase marks, soften edges, and lift out highlights. A kneaded eraser works well for all three tasks, and is inexpensive besides.
The kneaded eraser is soft and moldable like stiff putty, and is cleaned by stretching and reshaping. You may also want an electric eraser.
Unlike the kneaded eraser it does leave crumbs, but it is often necessary for making patterns, lifting small highlights, and getting rid of dark, heavy lines.
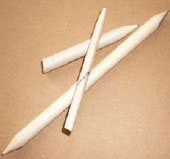 You will also want to invest in several paper blending stomps or tortillons, and some white felt.
These will be used for blending and shading, and are very inexpensive.
Blending stomps (sometimes called stumps) and/or tortillons are available at any art and craft supply store.
Some Further Reference Material For You
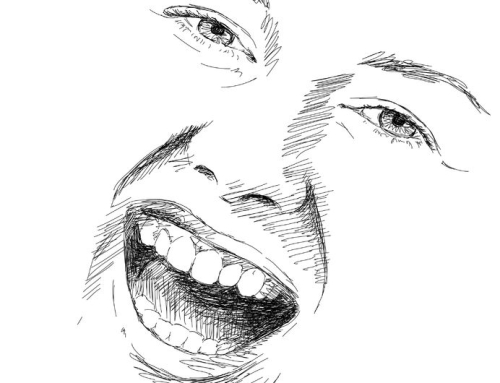
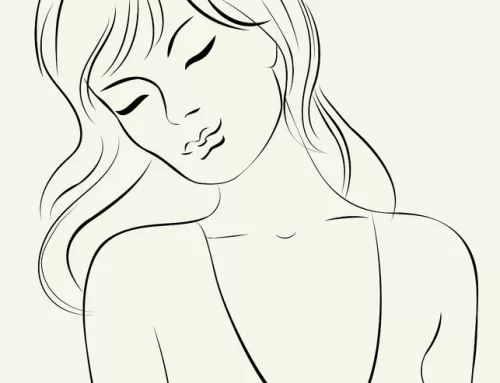
Choose something to draw. This can be a photograph, picture from a magazine, or something else, but it’s important to have something to refer to so you know what you’re drawing.
Black and white photos are good because they make it easy to see areas of contrast and shading.
What Sort Of Workspace Do I Use
While it is nice to have a specific place designated for drawing, such as a studio, don’t be held back if all you have is a table top or counter space.
All you really require from a workspace is that it is large enough to accommodate your paper and supplies, is flat without surface patterns or textures, and clean.
With your space and supplies gathered together, you are now ready to learn how to draw. Let’s go!
 Want To Learn More …
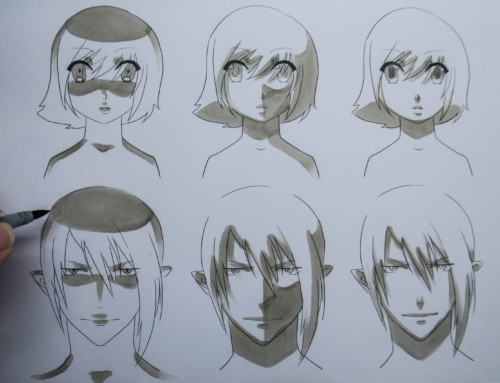
Drawing Made Easy is a simple course which shows you step-by-step how to draw people, hands, eyes, faces and a whole lot more from beginning to end, and a goldmine of sample illustrations for further ideas.
With clear (and fun) instructions on how to draw … you’ll learn at your own pace in the comfort of your home.